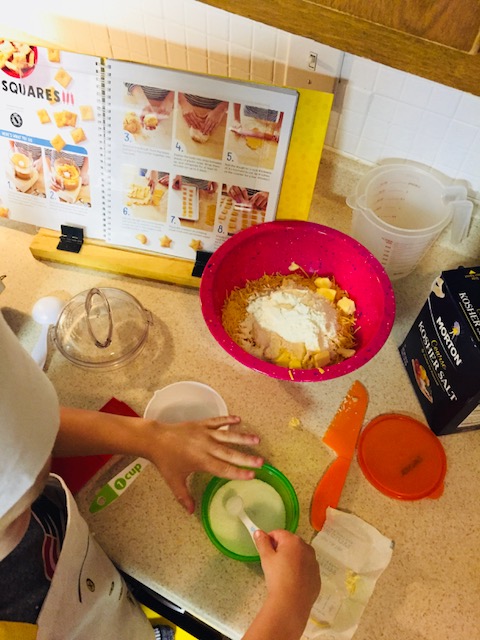
Lesson #2 - Crispy Cheese Squares
There is nothing better than cheese!
After this lesson Sawyer asked his school teacher if he could share these with his class. There were no food allergies so he was able to bring them in and share with everyone! Ask your child's classroom teacher if they will allow them to share. It will give them a sense of pride to share their weekly accomplishments.
Prep Time: 10 mins
Total Time: 45-50 mins
Servings: approx. 2 dozen
Ingredients:
8 oz shredded cheddar cheese
4 tablespoons butter, cut into chunks
1 cup flour
1/4 teaspoon salt
3 tablespoons milk
PREHEAT OVEN TO 350 DEGREES
STEP ONE:
Combine the cheese, butter chunks, flour, and salt in a bowl. Then pour them into the food processor. Pulse until the mixture looks crumbly.
STEP TWO:
Pour the milk into the food processor and mix until dough starts to stick together.
STEP THREE:
Remove the dough from the bowl, making sure to grab all the crumbs and roll it into two separate balls.
STEP FOUR:
Flatten the balls into disks between sheets of plastic wrap. Wrap them up, and refrigerate for at least 10 minutes.
STEP FIVE:
Roll the dough to 1/4 inch thickness or as close as you can. It can be tough for the littler ones so be ready to lend a hand during this step. We put a little flour down to avoid the dough sticking to the rolling pin.
STEP SIX:
Cut the dough into 1-inch squares with a knife, pastry cutter or pizza wheel. This will be hard and they might end up looking like a rhombus. Have fun with it and create different shapes.
STEP SEVEN:
Wiggle a toothpick in the center of each square to make a hole. The toothpick can be used to make the indentation around the exterior of each square as well.
STEP EIGHT:
Place the crackers on a baking sheet that is either sprayed or lined with parchment paper. Bake for 8 to 12 minutes, or until crispy. Cool on the pan for a few minutes before eating. These delicious treats won't last long.


